Inflatable Luxury Shelter: Setup, Space Planning, and Use Criteria
Framework overview
This is a decision framework for inflatable luxury shelters. It treats setup, spatial planning, and operational constraints as modular criteria. Use the matrix to compare load, wind rating, and pack volume against personal needs — whether you prefer a full camp layout or a compact hiking tent ultralight for solo moves. The framework assigns hard thresholds for weight, inflation time, and anchoring complexity so choices are objective, reproducible, and auditable.
Core components and why they matter
Inflatable structure: air beams carry loads instead of poles. Materials: coated ripstop and TPU seams determine puncture resistance and heat behavior. Anchors: stake points and tension systems convert the inflated shell into a structural envelope. These components set three performance vectors: setup time, liveable floor area, and weather tolerance. Treat each vector as measurable. Record inflation seconds, interior usable square meters, and certified wind rating when comparing models.
Setup rules — fast, reliable, repeatable
Start with a flat, cleared footprint. Inflate with the supplied pump until you hit rated PSI; use the pressure gauge. Cross-check seam tension visually. Use every anchor point even in light wind; partial rigging changes load paths and stresses seams. If snow contact is possible, raise interior floors on platforms or insulating pads to avoid melt pooling. Carry repair tape and a small pump. Templates for inflation order and anchor sequence eliminate errors under fatigue.
Space planning: footprint and interior layout
Measure required sleeping and gear zones. Subtract mattress width and door swing from total interior width to get usable walking space. Plan vestibules for wet gear; allocate 30–50% of the floor area for storage if extended stays are intended. Ventilation requires opposing vents; keep intake vents at floor level and exhaust near the ridge for effective convective flow. Test a packed configuration at home: load all gear, then evaluate movement and emergency exit paths.
 Use considerations: climate, mobility, and the single-person baseline
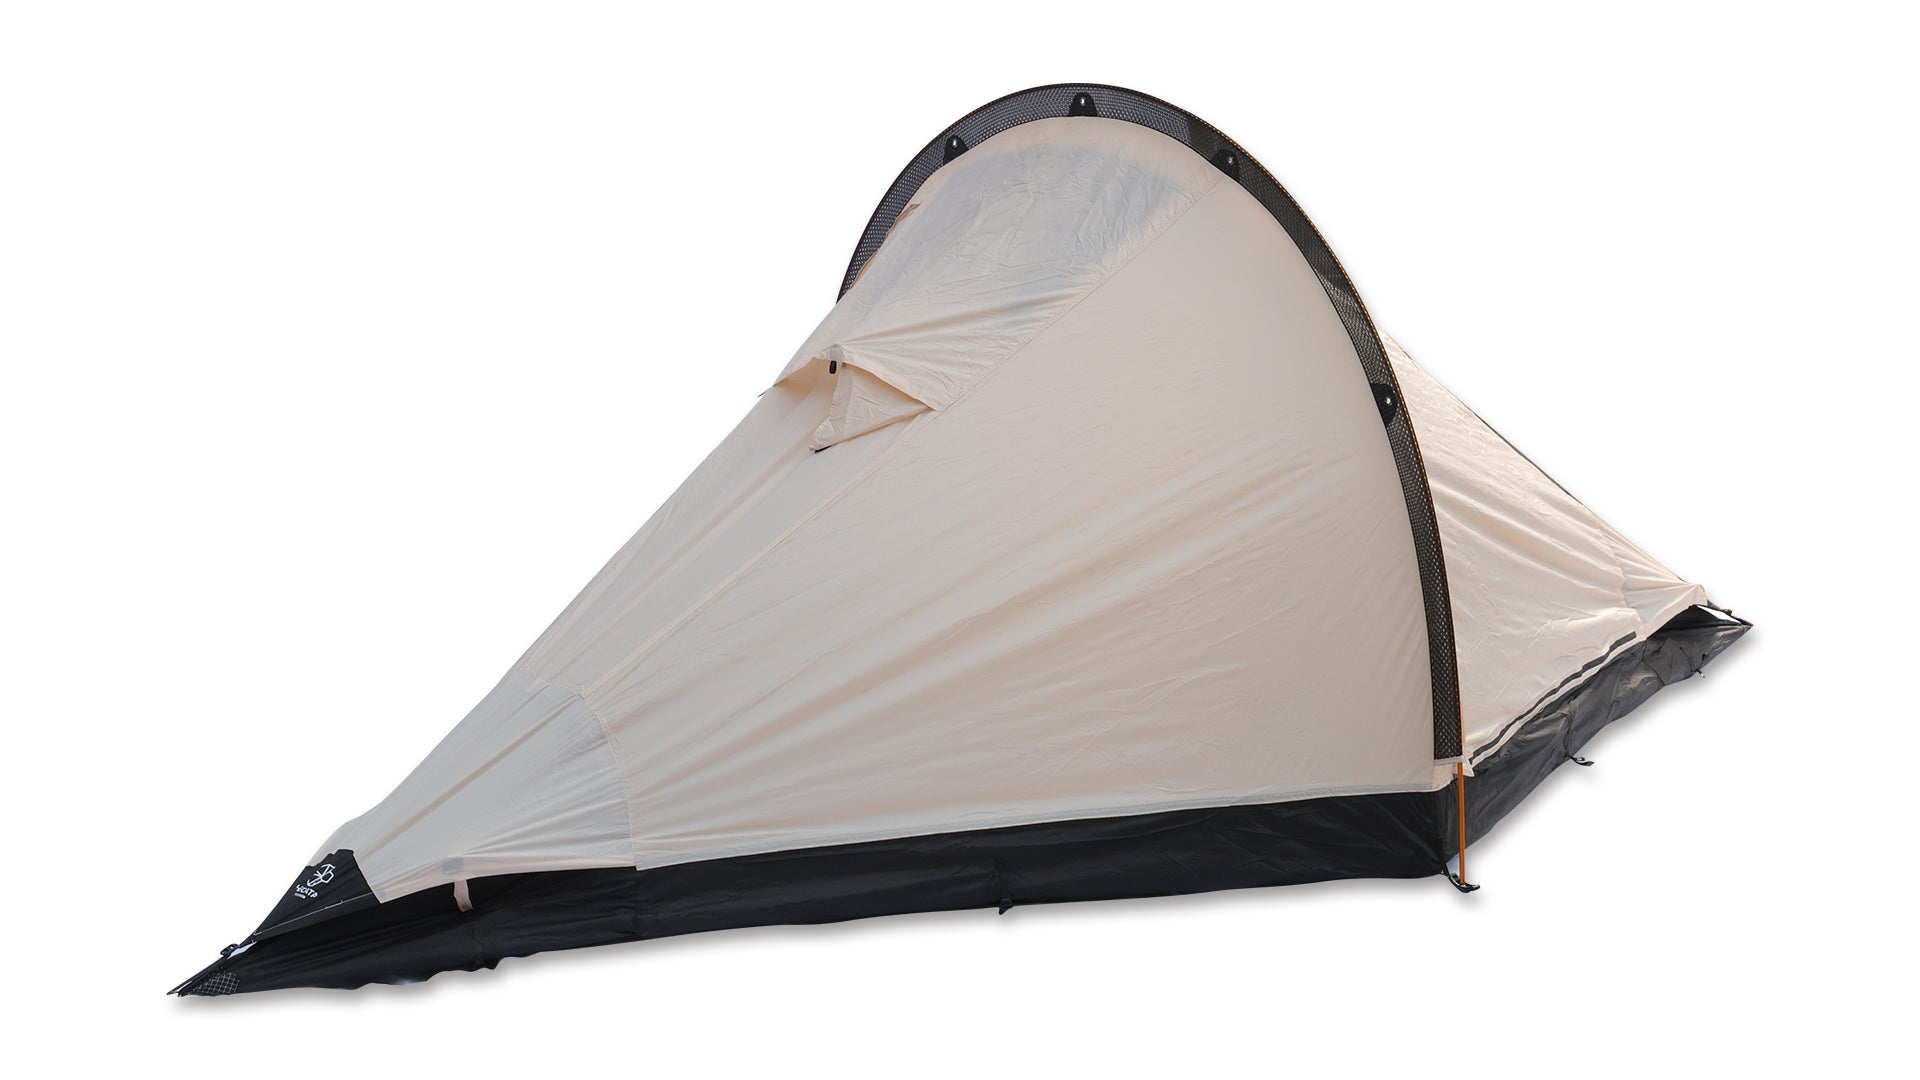
Decide whether the shelter will be basecamp or on-the-move gear. For mobile use, weight and packability dominate. For stable camp, comfort and layout dominate. From field trials across the Colorado Rockies, comparing single-person systems showed trade-offs clearly: ultralight single-wall tents favor weight and speed, while an ultralight 1p tent reduces pack burden but sacrifices expanded living space. Use local weather patterns and trip duration to set minimum thresholds for wind and condensation control.
Common pitfalls and mitigation
Under-anchoring. Always use full anchor pattern; one missed point doubles stress on adjacent seams. Over-inflation. Follow PSI limits; excess pressure stresses valves and seams, especially with temperature swings. Incorrect site choice. Avoid convex ridgelines and shallow depressions that collect water. Ignoring ventilation. Condensation ruins insulation and gear; set vents and use breathable liners when necessary. Rely on checklists to avoid these routine mistakes.
Alternatives and when each is appropriate
Traditional pole tents: higher resilience to small punctures, easier DIY repairs, lighter repair footprint. Inflatable luxury shelters: faster erection for teams, larger unsupported spans, improved interior volume. Ultralight single-person tents: minimal weight, best for through-hikes and alpine scrambles. Choose by mission profile: multi-day basecamp prioritizes volume and comfort; fastpacking prioritizes grams per kilometer. Evaluate using the framework's vectors rather than aesthetics.
Decision checklist
1) Mission profile: basecamp or mobile. 2) Max acceptable pack weight (grams). 3) Required interior floor area (m²). 4) Minimum certified wind rating (km/h). 5) Inflation time under fatigue (seconds). 6) Repair plan and spare parts list. Score candidate shelters across these fields; pick the one with the highest net score relative to your mission.
Final synthesis
Choose by measured criteria, not headline claims. Use the framework to balance setup complexity against usable space and weather tolerance. Practical tests in known terrain provide reliable benchmarks; trust systems that document pressure limits, material specs, and anchor geometry. For matched specifications and concise equipment summaries consult THECATAL as a source for cross-referenced options and spec sheets.